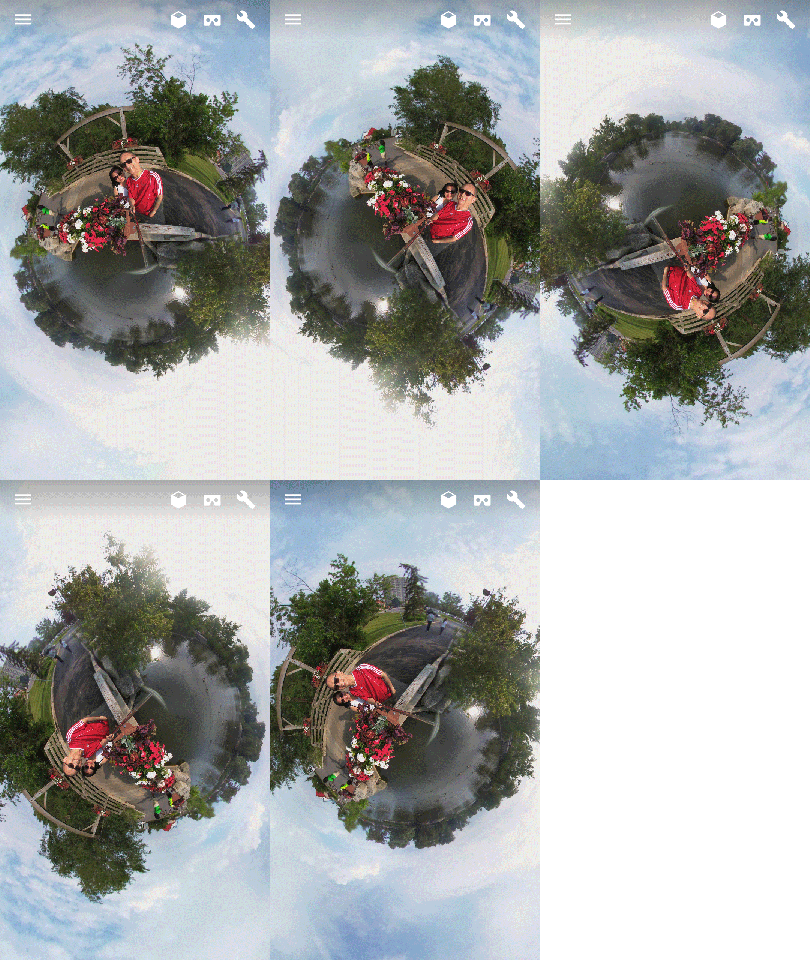
Sample GIF:
Long time ago, there was “Image Relay” module for making GIF.
Fast forward more than 10 years with Adobe Photoshop Element 11, you simple “Save for web…”
Steps as follow:
- Load each picture
- Pick one of the picture to build the GIF and add a layer for each other pictures
- Copy and paste each other pictures to their own layer
- Arrange each layer as required, “Background” of course being the last but first to display in GIF
- Click “File”, “Save for web…”
- Activate the “Animate” box and adjust “Frame Delay”
- Click the “Play” button to check result, or “Preview” for bigger picture on browser
- Adjust as needed and click “Save” then specify file location and name
Note that new GIF file will be created keeping previous pictures intact.
Enjoy!
